Views: 10 Author: Site Editor Publish Time: 2023-04-29 Origin: Site


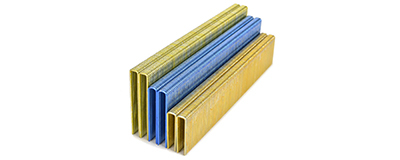
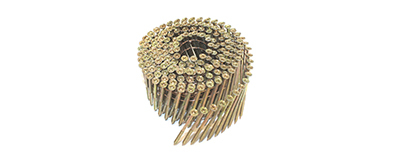
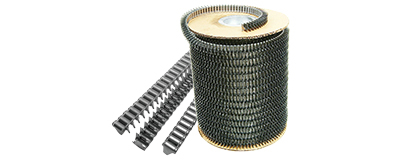
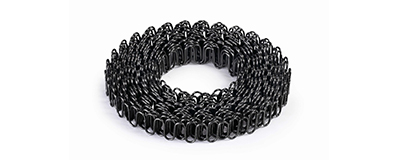
Siding coil nails are essential components in the installation of siding panels on your home. They provide a durable and efficient way to fasten these panels securely, ensuring your home's exterior remains protected from the elements. In this article, we'll discuss why siding coil nails are important, the types available, and provide a step-by-step guide on how to install them.
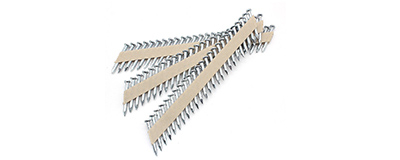
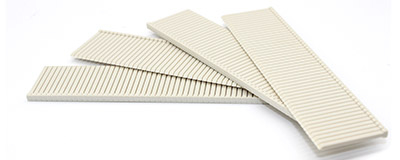
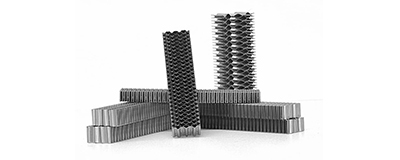
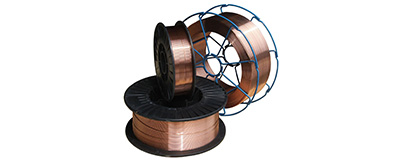
Siding coil nails offer several advantages over traditional siding nails. They're designed to work seamlessly with coil nailers, making the installation process faster and more efficient. They also have a smaller head, allowing them to blend in with the siding material, providing a more polished appearance.
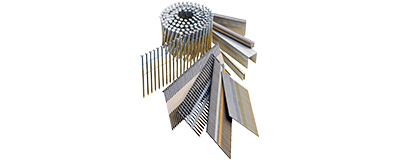
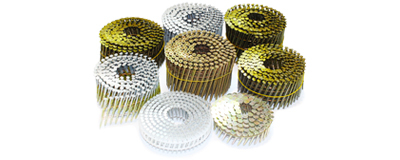
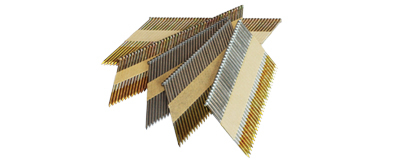
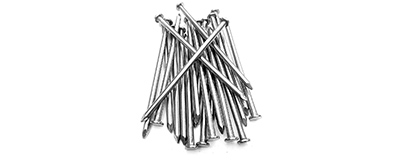
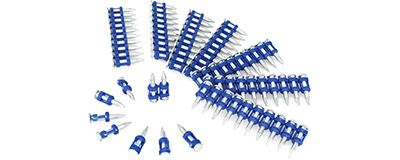
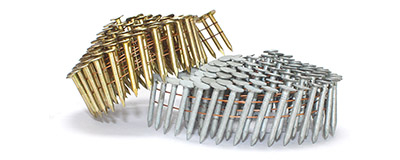
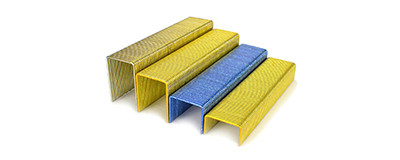
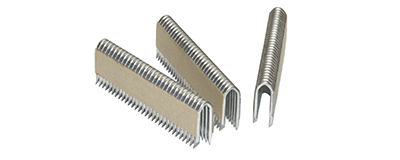
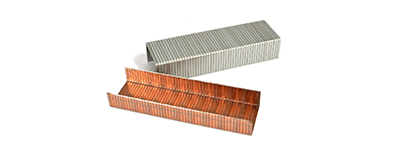
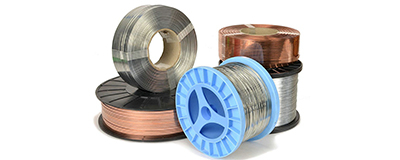
There are various types of siding coil nails, including stainless steel, galvanized steel, and aluminum. The type you choose will depend on the siding material, local climate, and personal preference. Each type offers its unique advantages in terms of durability, corrosion resistance, and cost.
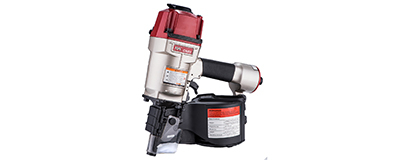
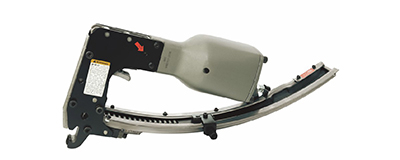
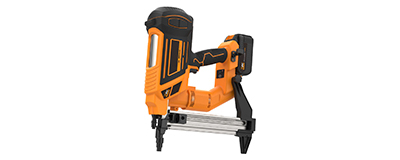
Coil nailer
Air compressor
Tape measure
Level
Carpenter's square
Utility knife
Hammer
Safety goggles and gloves
Siding gauge
Nail hole punch
Snap-lock punch
Siding removal tool
When selecting siding coil nails, consider the siding material, the local climate, and the required holding power. Consult the siding manufacturer's recommendations to ensure proper compatibility.
Clear the work area of any obstacles and debris. Ensure that the wall surface is clean, dry, and structurally sound. Install a weather-resistant barrier and flashing, as per the manufacturer's guidelines.
Attach a starter strip to the bottom edge of the wall, ensuring it's level and straight. This strip serves as a foundation for the siding panels.
Starting at the bottom, attach the siding panels to the wall, working your way up. Make sure each panel overlaps the one below it, leaving a gap for expansion and contraction.
Tips for Proper Panel Alignment
Use a level to ensure each panel is straight and level.
Use a siding gauge to maintain consistent spacing between panels.
Check that the panels are correctly interlocked before securing them with nails.
Using a coil nailer, fasten the siding panels to the wall with siding coil nails. Ensure you're using the proper nail length and type, as recommended by the siding manufacturer. Avoid overdriving the nails; they should be snug but still allow for slight movement of the siding.
Once all the siding panels are installed and secured with coil nails, trim any excess material and install corner posts, J-channels, and other finishing components. Clean up any debris and dispose of it properly.
Installing siding coil nails is an essential part of the siding installation process. By following this comprehensive guide, you'll be well-equipped to tackle the project yourself or better understand the process if you choose to hire a professional. With the right tools, materials, and techniques, you can ensure a durable and attractive siding job that will last for years to come.